I know the feeling when everyone in the house wants a grilled cheese, and when you have a spouse, 2 kids, plus you…with each person wanting 2 or more. It can indeed be daunting to stand in front of a griddle for what seems like ages to make up to 10 or more grilled cheese sandwiches. It is absolutely even more dreadful when only two can be made at a time, because you only have a skillet or smaller pan to grill them, and someone wants another as soon as you finish…what you thought was your last one. Well let me share my favorite way to make multiple grilled cheese sandwiches at once. Prep, and cook them all together, so they are all done at the same exact time and clean up is even super quick and easy, and the first sandwiches that are cooked don’t get cold by the time the last one is made. Even better that since they all finish at the same time your family can enjoy and warm, soft, cheesy, simple meal all together!

- Bread
- Butter
- Sliced Cheese
- Aluminum Foil
- Spatula or Tongs
- Basting Brush
- Small Sauce Pan and stovetop OR a bowl and microwave – to Melt the Butter. (I use a small sauce pan on the stove top on a low heat, due to not owning a microwave.)
- Some Type of Oven. (I have an infrared oven, but a toaster oven, or regular oven will be perfect as well.)
To start off put the butter into a bowl and into the microwave, or in my case into a sauce pan on medium low heat. I use Pure Irish Butter.

While you’re waiting for the butter to melt. Start getting the aluminum foil ready. Tear off as many squares of aluminum foil for the sandwiches you’ll be making.

Once the butter is mostly, or completely melted remove it from the heat onto a towel or potholder near the area you are preparing the sandwiches.

Place 2 slices of bread on the top sheet of aluminum foil, grab your basting brush and coat each side of both pieces of bread with the melted butter.
A good healthy spray butter would be awesome for this part.

Place 1 and a half pieces of sliced cheese (I use Pasteurized) onto the top bread slice. I tear up the half slice into 4 pieces and evenly distribute it on top of the other cheese slice. I do my best.
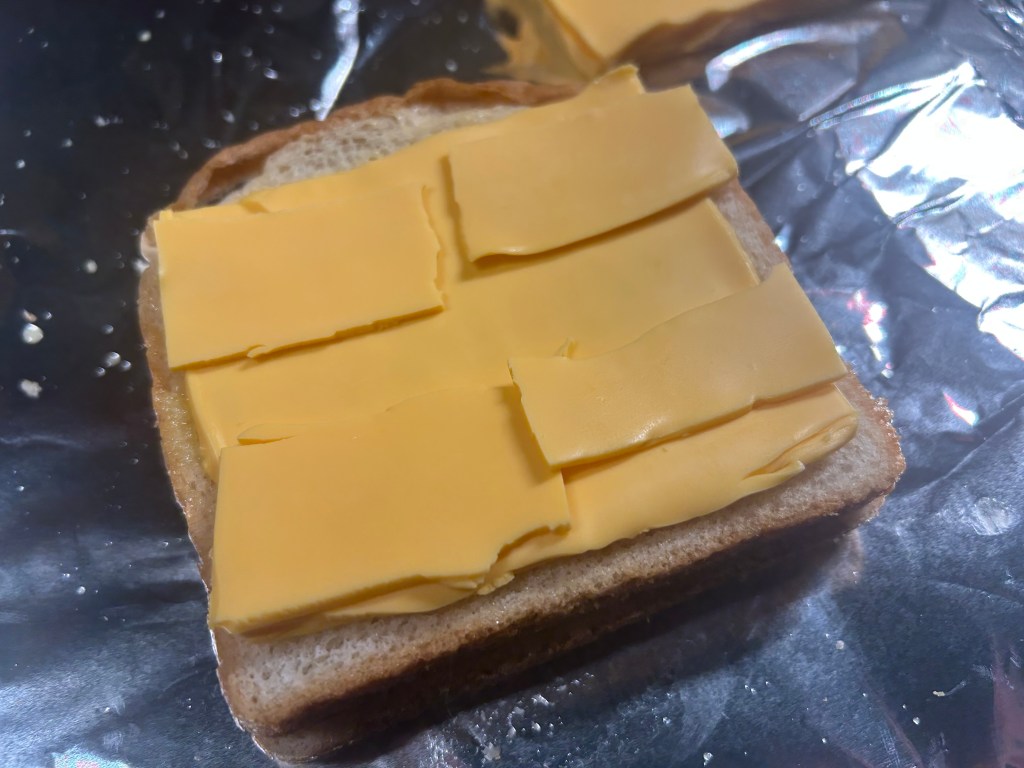
Place the other piece of bread on top of the cheese slices and fold the aluminum foil around the sandwich.
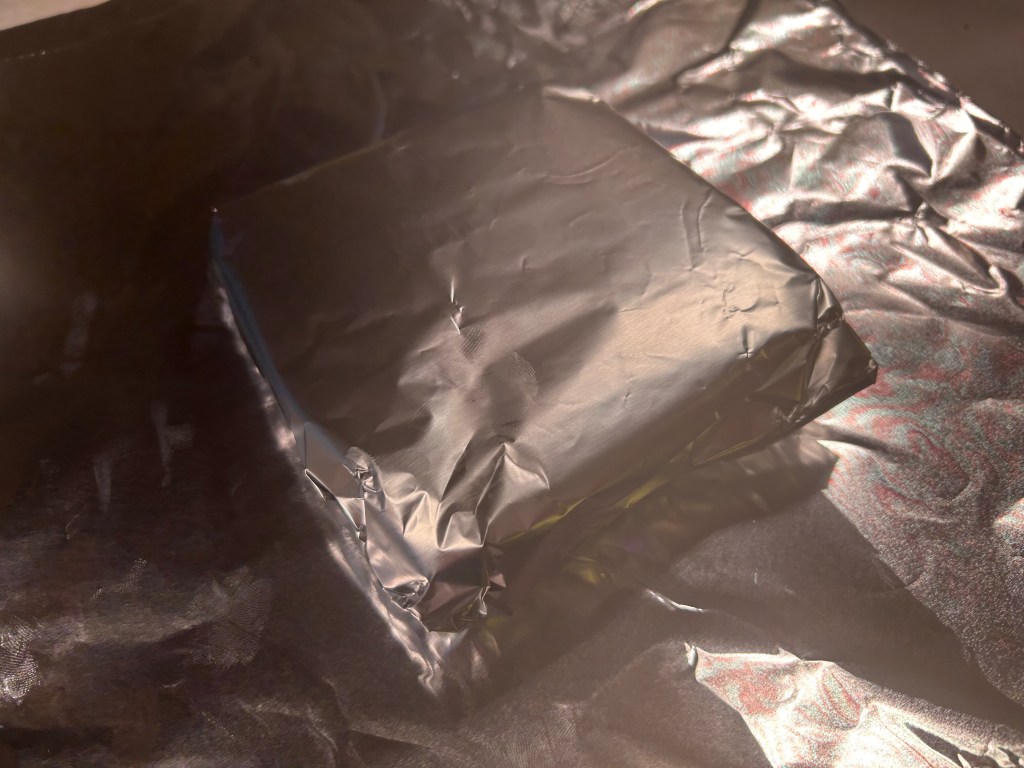
Stack all your premade sandwiches into stacks on a sheet pan to place in the oven. In my case I cook in an infrared oven, so I don’t use a sheet pan.
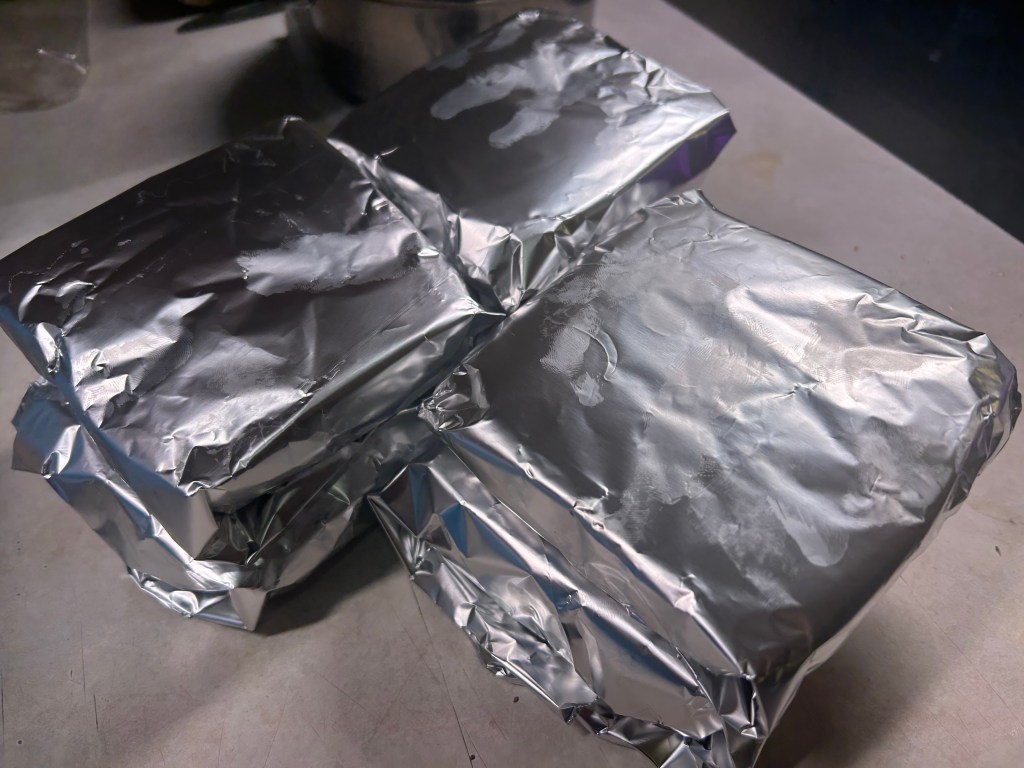
I place mine straight onto the wire rack in my infrared oven and I then place the taller rack on top on the sandwiches so the rack can block some of the heat coming down on them. This way the sandwiches don’t get too crispy on the tops too quickly.

Cook sandwiches in the oven at 250F for 7-10 minutes. If you like a crispier sandwich do around 300F. Cooking them slower at a lower temp is much better. At higher temps the bread will get too hard, too fast, and the cheese could burn or bubble out into the aluminum foil and make for a messy sandwich. Bringing them to a slow soft crisp makes them tons more delicious, less messy, and lovingly enjoyable.
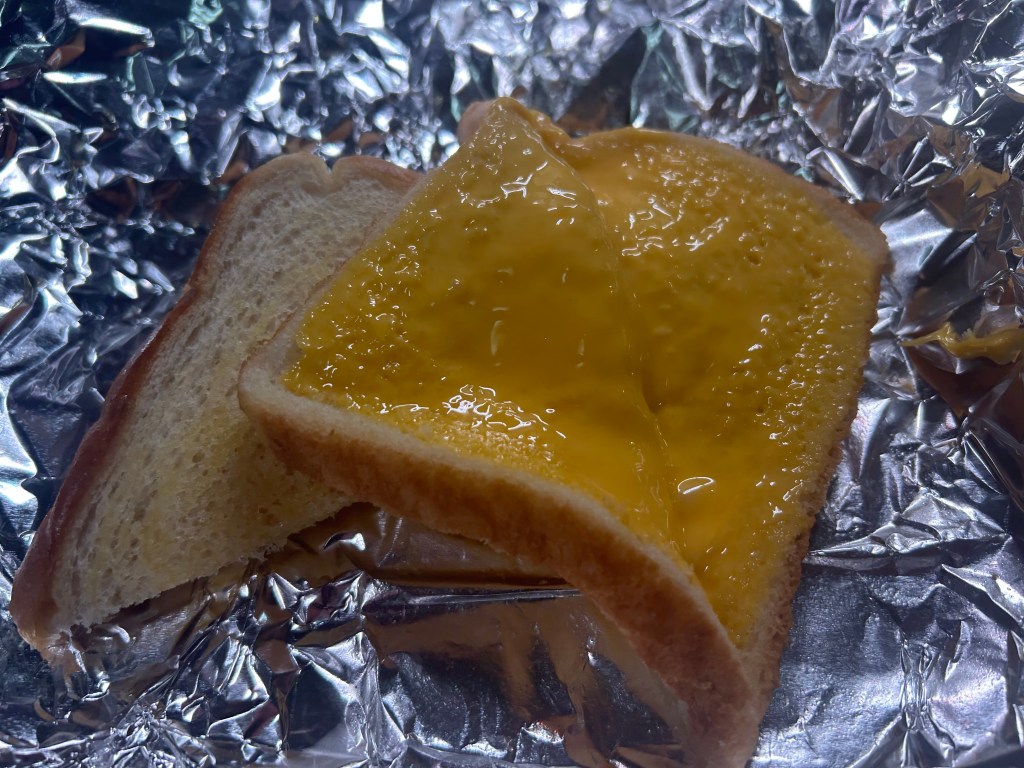
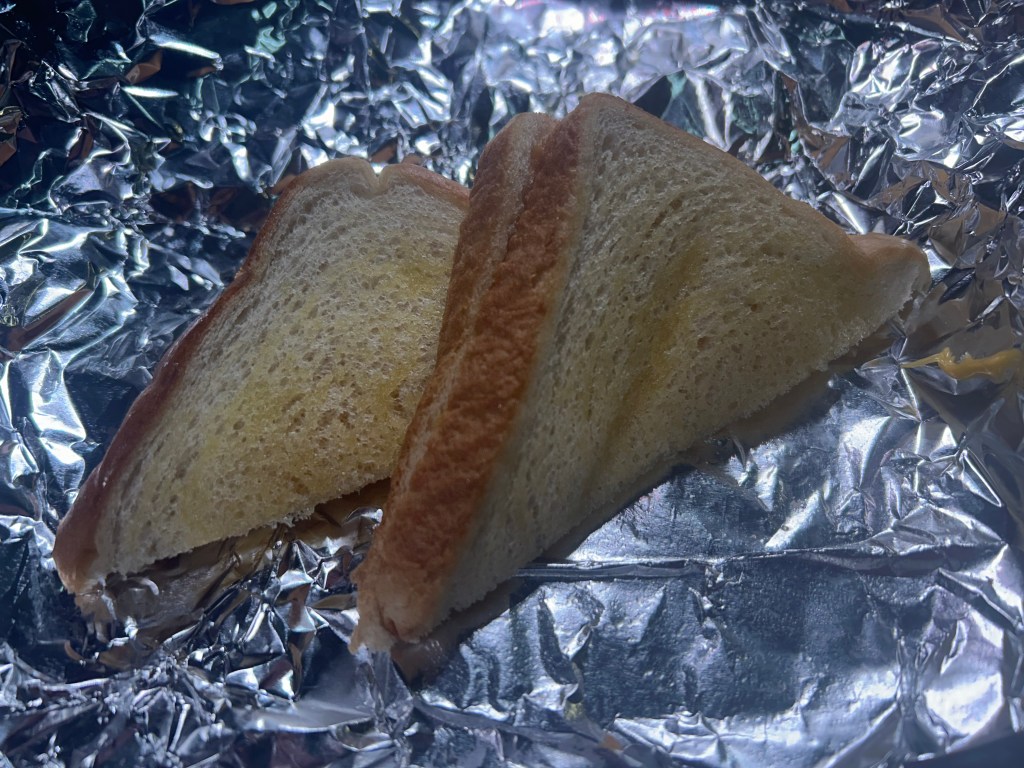
Until you get the hang of making them this way, pull one of the sandwiches out of the oven every few minutes and carefully unwrap it (it will be hot) to check how it’s coming along. I pull them all out with the spatula (or tongs) once they have a thin crisp covering the outsides of the bread slices. And the crust is slightly toasted.
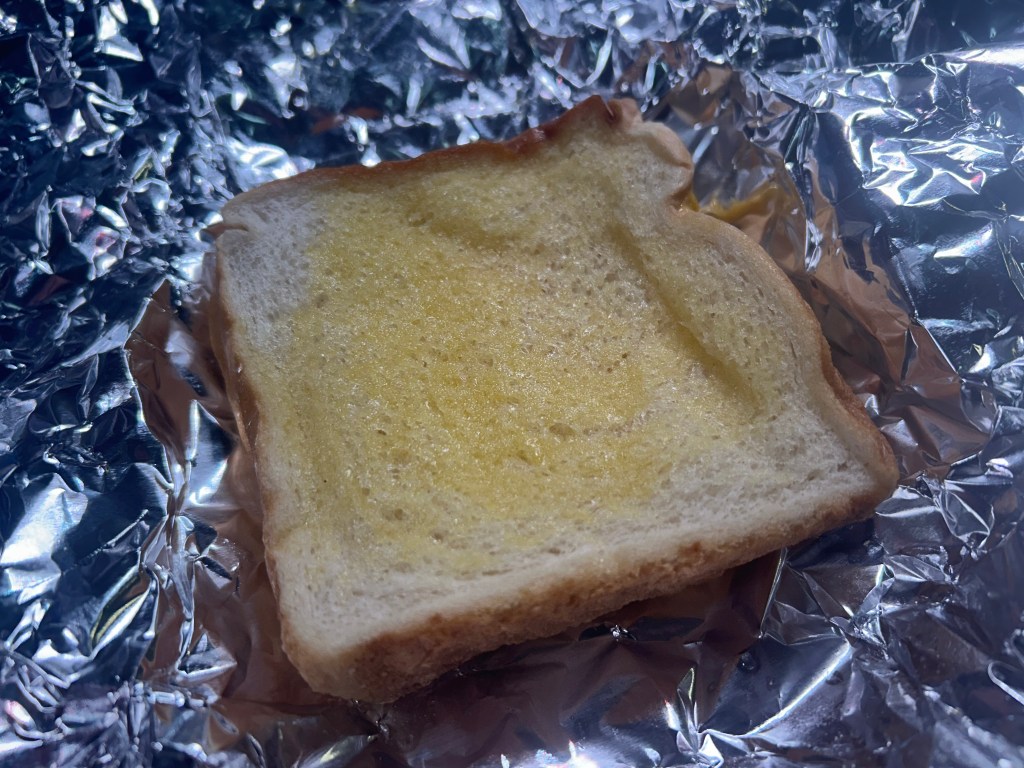
When they are finished unwrap them all, plate them up, and Enjoy!! or eat them straight from the foil……foil plate anyone??? By far…the easiest cleanup! Whether it’s only you , you and your other half, your friends, or family, members of your community, or whichever your case may be can enjoy a ton of grilled cheese sandwiches, without the hassle of standing in front of a terribly hot, steamy griddle or stovetop for ages. Everyone enjoy….Together!!